

How to Take a Screenshot on Windows (Every Method)
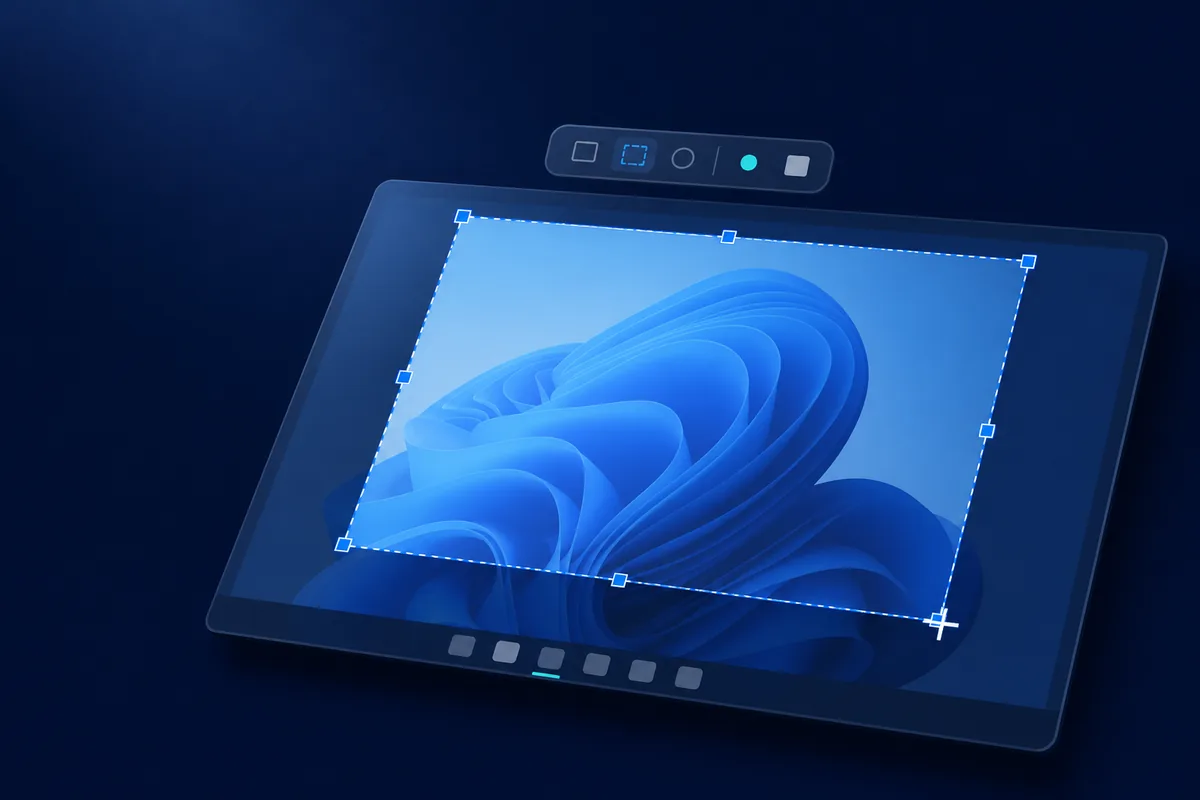
The fastest way to take a screenshot on Windows is Win + Shift + S: press those three keys, drag a box around what you want, and the image lands on your clipboard, ready to paste. That single shortcut covers most captures on both Windows 10 and Windows 11. But it is one of several built-in methods, and each grabs something slightly different and saves it to a different place. This guide walks through every option — with the exact keys, where the file ends up, and when to reach for each — then covers capturing a page taller than the screen.
This is a Maxisnap-published guide. Maxisnap makes a Windows screenshot tool, so it appears near the end where it is relevant, but the built-in methods below need no extra software and are the right answer for most everyday captures.
Every way to take a screenshot on Windows
Here is the short version. All of these are built into Windows 10 and 11 except the last row; they differ in what they capture and where the result goes.
| Method | Keys | Captures | Result |
|---|---|---|---|
| Snip (Snipping Tool) | Win + Shift + S | Region, window, or full screen | Clipboard, and the Screenshots folder when Snipping Tool's automatic saving is on |
| Print Screen | PrtScn | The whole screen | Clipboard (opens Snip on Windows 11) |
| Active window | Alt + PrtScn | The focused window only | Clipboard |
| Save to file | Win + PrtScn | The whole screen | Pictures › Screenshots (a PNG file) |
| Game Bar | Win + G | A game or app, as image or video | Videos › Captures |
| Scrolling / full page | Browser or a tool | Content taller than the screen | One tall image |
Snip a region with Win + Shift + S
The most useful shortcut is Win + Shift + S. It dims the screen and opens a small capture bar at the top with rectangle, freeform, window, and full-screen modes. Drag over the part you want, and the snip is copied to your clipboard; a preview flyout appears in the corner so you can click it to annotate and save. This is the modern Snipping Tool, and it is the method to learn first because it captures exactly the area you choose and puts it straight where you can paste it — into a chat, a document, an email, or an image editor.
Capture the whole screen with Print Screen
Pressing PrtScn copies the entire screen to the clipboard in one keystroke. On Windows 11 you can set PrtScn to open the Snip capture bar instead, which is often more useful. To use the copied image, paste it with Ctrl + V into any app that accepts an image. Print Screen is the quickest way to grab everything on screen at once, but because it captures the full display, you usually crop afterward if you only needed part of it.
Capture just the active window with Alt + Print Screen
Alt + PrtScn copies only the window you are currently working in, rather than the whole screen. It is the cleanest way to capture a single app — a dialog box, a browser window, a settings panel — without the desktop or other windows around it. The image goes to the clipboard, so paste it with Ctrl + V to use it. If you frequently screenshot one window at a time, this shortcut saves you the cropping that Print Screen would need.
Save a screenshot straight to a file with Win + Print Screen
Win + PrtScn captures the full screen and saves it to a file in the Screenshots subfolder of the Pictures folder, which suits grabbing several screens in a row and sorting through them later. In Windows 11, Snipping Tool also saves snips automatically unless you change its settings. Our save-location guide maps where every Windows screenshot shortcut puts its output.
Screenshot or record with the Game Bar
Press Win + G to open the Xbox Game Bar, Microsoft's overlay for recording clips and taking screenshots; Microsoft's guide describes it for games and apps. Use the Capture widget to take a screenshot or start a recording; the files are saved in the Captures folder under Videos. For a full walkthrough with audio, see how to record your screen on Windows for free.
Capture a scrolling or full-page screenshot
For a web page, the browser can export the whole page. In Chrome or Edge, open DevTools with Ctrl + Shift + I, press Ctrl + Shift + P, type “Capture full size screenshot,” and press Enter. In Firefox, right-click the page and choose “Take Screenshot,” then “Save full page.”
Which method should you use?
For most captures, use Win + Shift + S — it is fast, precise, and paste-ready. Use Win + PrtScn when you want files saved automatically, Alt + PrtScn for a single window, and Win + G when you need a recording. Reach for a dedicated tool when you want scrolling capture, shareable links, filenames drawn from a capture's own text, or captures sized for an AI coding assistant. If several of those apply, a dedicated Windows 11 screenshot tool keeps capture, annotation, OCR, and sharing in one place; if not, the built-in shortcuts are all you need.
Frequently asked questions
What is the keyboard shortcut to screenshot on Windows?
The main one is Win + Shift + S, which lets you drag a box around any area and copies it to the clipboard. PrtScn copies the whole screen, Alt + PrtScn copies the active window, and Win + PrtScn saves the whole screen as a file.
Where do my screenshots go?
It depends on the method. Win + Shift + S, PrtScn, and Alt + PrtScn copy to the clipboard, so you paste them somewhere. Win + PrtScn saves to Pictures › Screenshots, and the Game Bar saves to Videos › Captures.
How do I screenshot without a Print Screen key?
Use Win + Shift + S, which does not rely on the Print Screen key at all. On a laptop without a PrtScn key you can also open the Snipping Tool from the Start menu.
How do I take a screenshot of a whole web page?
Use your browser’s full-page capture — DevTools “Capture full size screenshot” in Chrome or Edge, or “Save full page” in Firefox. For pages and app windows outside the browser, a scrolling-capture tool like Maxisnap grabs the whole thing as one image.
What does a dedicated screenshot tool include?
A dedicated app such as Maxisnap includes scrolling capture, annotation, OCR, screen recording, and shareable links. Maxisnap is free for personal and commercial use, runs on Windows 10 and 11, and is a 109 MB download.
Maxisnap is not affiliated with Microsoft. This page describes Windows features as Microsoft's documentation presented them in October 2026; check Microsoft's documentation for current behavior.
Maxisnap is not affiliated with the other products named on this page. They are described as their official sites presented them in October 2026; check each official site for current features, pricing and platforms.
Ready to try Maxisnap?
Maxisnap includes scrolling capture, OCR, annotation, recording, and shareable links in one lightweight app — free on Windows 10 and 11.
Download Maxisnap Free