

How to screenshot a dropdown menu on Windows 11
Dropdowns, right-click menus, tooltips, Start-menu flyouts, and autocomplete lists often vanish the instant you launch a capture. The reliable fix is to start the capture first and open the menu during a delay—or use a shortcut that does not require clicking away.
Quick answer: open Snipping Tool, choose a 3- or 5-second delay, select the New button, and reopen the menu before the timer expires. When the capture overlay appears, drag around the open menu. For a keyboard-only fallback, open the menu and press Ctrl+Print Screen to start a Snipping Tool capture, or press Print Screen for the entire display and crop afterward.
Why dropdown menus disappear during a screenshot
Most menus are temporary interface layers. They stay open only while their application remains active and while Windows believes you are still interacting with that control. Clicking the taskbar, opening another app, or pressing a shortcut claimed by the current program can dismiss the layer before the screenshot tool takes its frame. Right-click context menus, hover tooltips, browser autocomplete suggestions, emoji panels, and ribbon galleries all behave in slightly different ways, but the underlying problem is the same: activating the capture changes focus.
The solution is not to click faster. Separate arming the capture from showing the menu. A timer lets you arm first. A keyboard shortcut can start the capture without moving the pointer. A full-screen screenshot avoids an interactive selection entirely. Which route is best depends on whether the menu survives the shortcut and whether you need a precise crop immediately.
Method 1: use Snipping Tool delay—the most reliable option
Microsoft’s current Snipping Tool includes delayed image capture. This is the best general method because it gives you time to reproduce a multi-click state: open a nested menu, hover a tooltip, expand a combo box, or right-click the exact row you are documenting.
- Open Snipping Tool. Open Start, search for Snipping Tool, and launch the Microsoft app.
- Choose a delay. Select a delay of three or five seconds so you have time to reopen the menu.
- Start the countdown. Choose New, then immediately open the dropdown, context menu, tooltip, or flyout you need.
- Capture the open menu. When the screen dims, drag around the menu or choose the appropriate window or full-screen capture mode.
- Check and annotate. Confirm every menu item is visible, save the original, then crop, number, blur, or annotate a working copy.
Use three seconds for a simple dropdown and five seconds for nested menus or hover states. If you are documenting a reproducible procedure, place the pointer near the first control before choosing New. That reduces hurried mouse travel during the countdown. Microsoft documents both delayed snips and the available capture shapes in its official Snipping Tool guide.
Method 2: open the menu, then press Ctrl+Print Screen
Microsoft also documents Ctrl+Print Screen as a way to capture a menu with Snipping Tool. Open the menu first, keep your pointer still if a hover state matters, then press the keys. Select the region containing the menu when the snipping overlay appears. Because you do not click another window to begin, many menus remain visible long enough to enter capture mode.
This method is fast, but it is not universal. Laptop keyboards may require the Fn key, a program may intercept Print Screen, and Windows can be configured so Print Screen opens screen capture itself. If the menu closes when you press the combination, use delayed capture instead. If nothing happens, search Windows Settings for the Print Screen screen-capture option and check the keyboard’s function-key mode.
Method 3: capture the full screen and crop afterward
When precision selection makes the menu disappear, take selection out of the process. Open the menu and press Print Screen to copy the entire display, or Windows+Print Screen to save a full-screen image. On many laptops that becomes Fn+Print Screen or Fn+Windows+Print Screen. Paste the clipboard image into an editor, then crop it to the menu and surrounding context.
A full-screen source is often the safest evidence for bug reports because it preserves the application, the menu’s position, and other state that may explain the problem. Save that original before cropping. You can make a focused copy for documentation while keeping the unedited frame for verification. Be careful on multi-monitor systems: a full-screen shortcut may include every display, which can expose unrelated messages or customer data. Crop and redact before sharing.
Capturing right-click menus, tooltips, and nested menus
A right-click menu is usually straightforward with a delay: begin the timer, right-click the target, and wait. A tooltip is harder because it may require the pointer to remain motionless. Start the timer with the keyboard if possible, move to the target once, and stop moving until the overlay appears. For a nested menu, choose five seconds and rehearse the pointer path before starting. Avoid opening unrelated windows during the countdown.
Browser address suggestions and application autocomplete panels may be drawn in a special surface. If a region snip shows an empty box, try full-screen capture. If a protected video or enterprise app renders black, that is not a crop problem; the app or operating system may intentionally exclude protected content from capture. Do not try to bypass a workplace protection control. Use an approved export, a test environment, or documentation supplied by the owner.
How to annotate the result without losing evidence
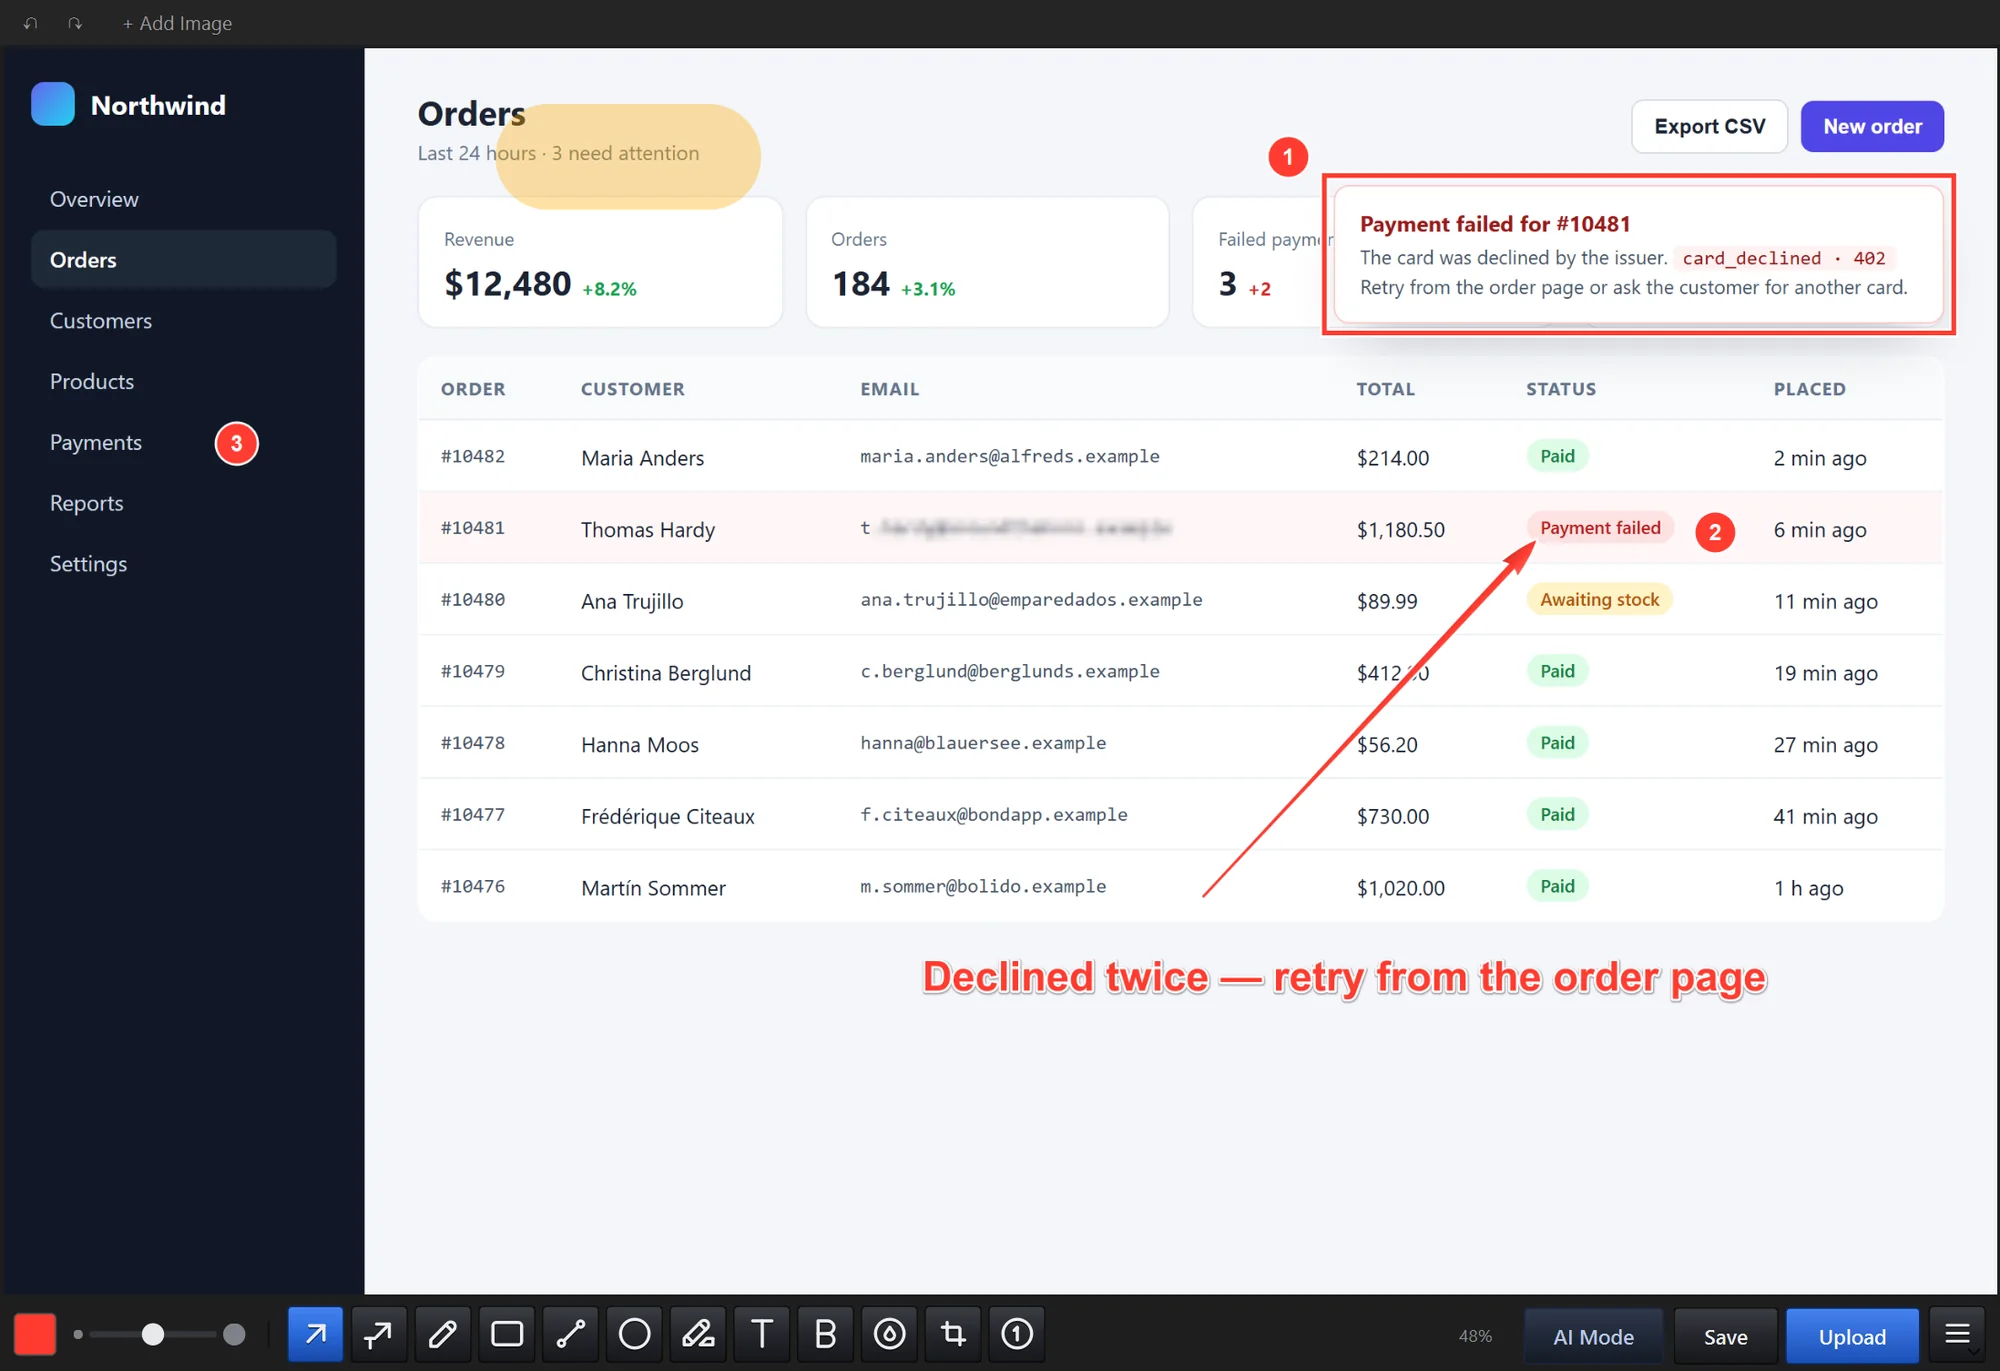
Once the menu is captured, the disappearing-state problem is over. Keep one untouched image, then edit a duplicate. Crop enough to make the menu readable but leave the parent control visible so readers know what opened it. Use a numbered marker for a sequence, a single arrow for the exact choice, and a short text label only where the interface itself is ambiguous. Heavy decoration makes a small menu harder to read.
Maxisnap can open an existing image from File Explorer using Open with Maxisnap. Its editor includes crop, blur, arrows, Arrow + Text, numbered steps, highlighter, shapes, and text. That makes it useful after a delayed Snipping Tool capture even though Windows handled the timer. You can keep the result local, copy it to another app, or choose a share destination only when the workflow requires one.
Troubleshooting when the menu still closes
- The delay begins but the menu is gone: choose a longer delay and reopen the menu only after selecting New.
- Print Screen does nothing: try Fn+Print Screen, check the Windows Print Screen setting, and confirm another capture app has not claimed the key.
- The snip contains the window but not the popup: use full-screen capture; some layered surfaces are missed by a window-only mode.
- The tooltip disappears as the overlay arrives: take a full-screen screenshot without interactive selection, then crop.
- The result is blurry: do not enlarge a tiny crop. Capture at the display’s native scale and retain the original pixels.
- The screenshot exposes another monitor: disconnect or blank the unused display, or immediately crop and redact the local copy before it leaves the computer.
Which method should you choose?
| Situation | Best first method | Why |
|---|---|---|
| Simple dropdown or context menu | 3-second Snipping Tool delay | Enough setup time with a precise final crop |
| Nested menu or hover tooltip | 5-second delay | Allows multiple actions before capture |
| Menu survives keyboard shortcuts | Ctrl+Print Screen | Fast and avoids clicking another app |
| Overlay vanishes in region mode | Full-screen Print Screen | No interactive selection before the pixels are preserved |
| Bug report or audit evidence | Full-screen original plus cropped copy | Retains context and an untouched source |
Frequently asked questions
How do I screenshot a right-click menu in Windows 11?
Open Snipping Tool, set a three- or five-second delay, select New, then right-click the target during the countdown. Capture the menu when the screen dims. If region capture dismisses it, open the menu again, press Print Screen for the entire display, and crop later.
Can I screenshot a dropdown without installing anything?
Yes. Snipping Tool is included with Windows 11 and current Windows 10 installations. Its delay, Ctrl+Print Screen workflow, and full-screen Print Screen fallback cover most transient menus without another app.
Why does Windows+Shift+S close my menu?
The shortcut activates the capture overlay, which changes focus and can dismiss temporary interface layers. Use Snipping Tool’s delay so you can open the menu after arming the capture, or take a non-interactive full-screen screenshot.
How do I screenshot a tooltip?
Choose a five-second delayed snip, start the countdown, move the pointer over the target once, and hold it still. If the tooltip closes when selection mode begins, use Print Screen for the full display and crop the saved pixels.
Microsoft procedures were checked on September 24, 2026 against the official Snipping Tool support page. Windows and Snipping Tool are trademarks of Microsoft Corporation. Maxisnap is independent and is not affiliated with or endorsed by Microsoft.